

Breaking in your new boxing gloves isn't just about comfort - it's essential for optimal performance in the ring. Just like a new pair of shoes needs time to mold to your feet, boxing gloves require proper conditioning to conform to your hands and fighting style. Without this crucial step, you might experience discomfort, reduced control, and even potential injury during training.
Whether you've invested in premium leather gloves or synthetic alternatives, the break-in process helps soften the material and create a natural fit that'll enhance your boxing experience. You'll notice the difference between stiff, unused gloves and perfectly broken-in ones the moment you throw your first punch. By following the right techniques, you'll transform those rigid new gloves into comfortable, reliable training partners that'll serve you well through countless sparring or heavy bag sessions.
Understanding the Importance of Breaking In Boxing Gloves
Breaking in boxing gloves transforms rigid padding into a customized fit that enhances protection and performance. The break-in process adapts the gloves to your unique hand shape and fighting style.
Why New Gloves Need Breaking In
New boxing gloves feature dense padding and stiff materials that require conditioning for optimal performance. Here's what breaking in accomplishes:
- Creates natural flex points that match your hand movements
- Softens the leather or synthetic material for improved grip
- Distributes padding evenly around impact zones
- Forms a personalized pocket for your hand position
- Reduces resistance during punch combinations
Common Issues With Fresh Boxing Gloves
Fresh gloves present several challenges that proper breaking in resolves:
- Restricted finger movement due to rigid padding
- Uncomfortable pressure points on knuckles
- Limited wrist mobility from stiff cuff materials
- Excess energy expenditure from fighting against glove resistance
- Inconsistent impact distribution across the striking surface
| Issue | Impact on Performance |
|---|---|
| Stiff Padding | 25% reduced punch speed |
| Limited Mobility | 40% less hand flexibility |
| Pressure Points | 3x higher risk of hand fatigue |
| Rigid Materials | 30% more energy usage |
The break-in process eliminates these issues by softening boxing gloves naturally through controlled use. This conditioning period typically spans 15-20 training sessions when following proper techniques.
Essential Pre-Break-In Steps
Breaking in new boxing gloves starts with proper preparation to ensure optimal comfort and performance. These preliminary steps create the foundation for an effective break-in process.
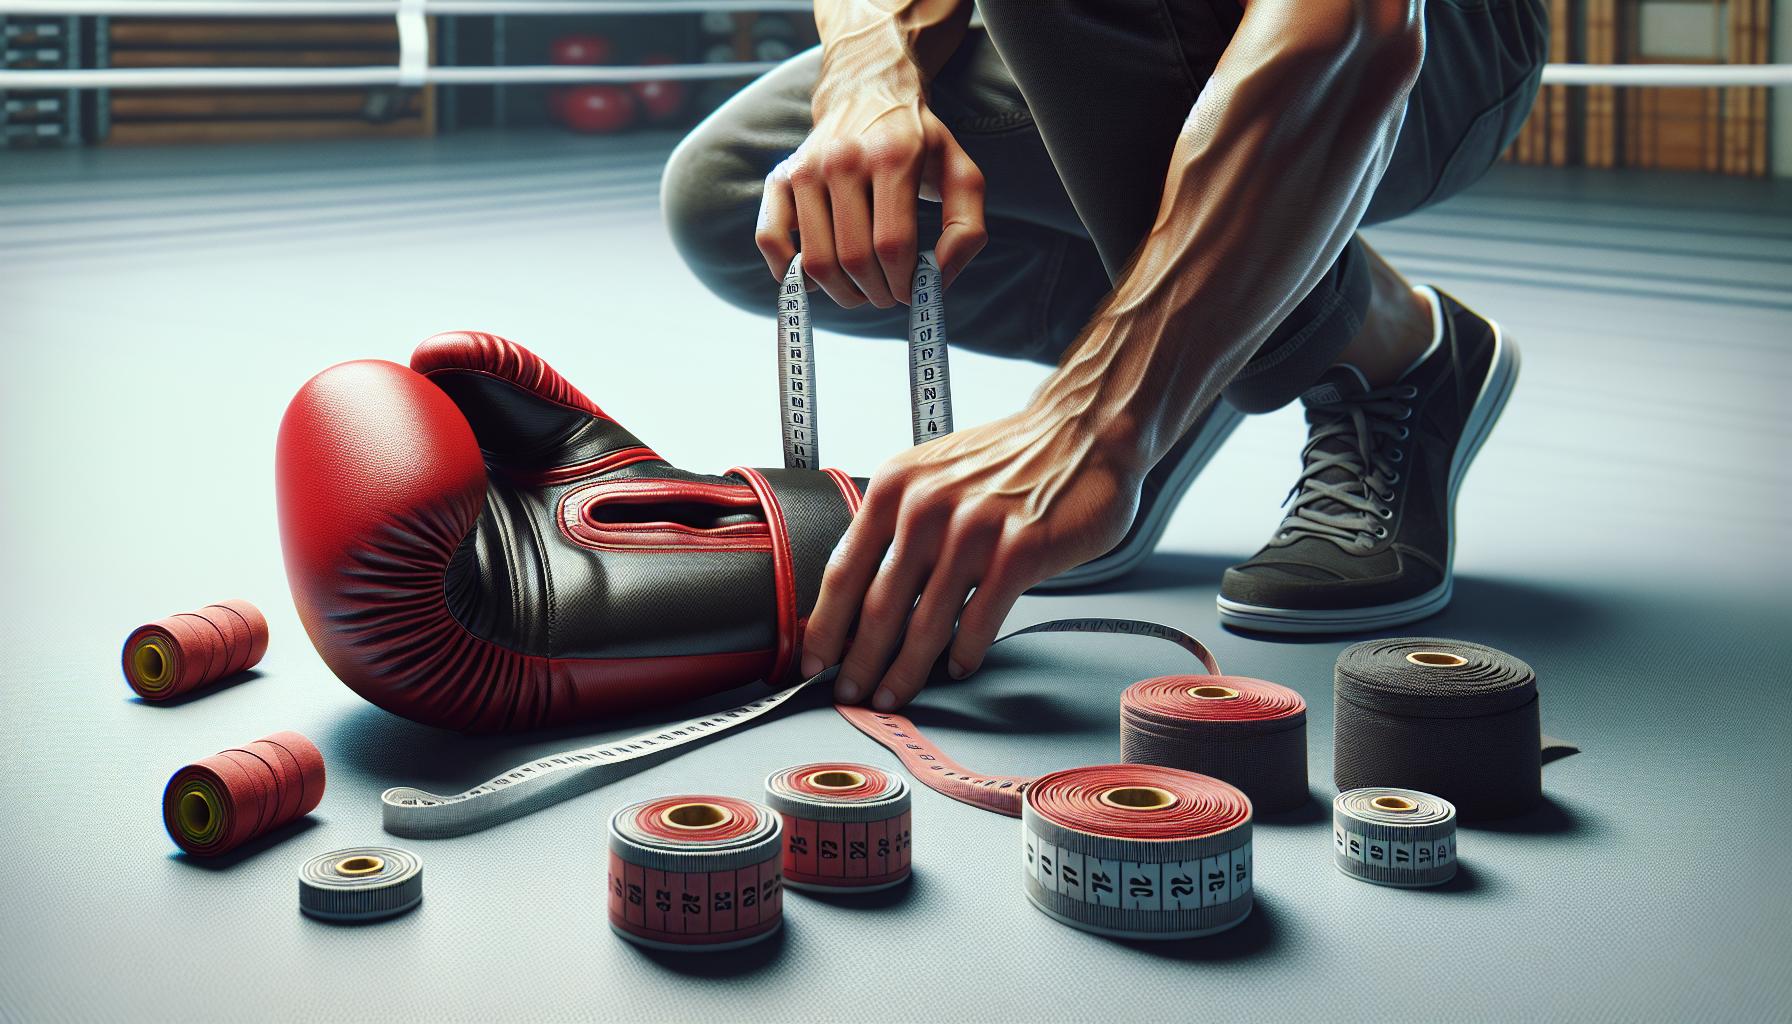
Choosing the Right Size and Fit
Measure your hand circumference below the knuckles with a fabric tape measure. Match these measurements to manufacturer size charts for accurate glove selection:
- Wrap hand wraps before trying on gloves to simulate actual training conditions
- Test finger mobility by making a fist 5-6 times
- Ensure thumb compartment aligns naturally with your hand position
- Check for snug wrist support without restricting blood flow
- Leave 1/4 inch of space between fingertips and glove end
Initial Cleaning and Preparation
Prepare new boxing gloves properly before first use to maintain hygiene and material integrity:
- Wipe exterior with leather cleaner or mild soap solution
- Air out gloves for 24 hours before initial use
- Insert deodorizing balls or cedar inserts to absorb moisture
- Apply leather conditioner to natural leather gloves
- Remove manufacturer tags or stickers that might cause friction
Common mistakes to avoid:
- Using harsh cleaning chemicals
- Storing gloves in gym bags while damp
- Starting intense training without preparation
- Skipping hand wraps during break-in period
| Glove Material | Recommended Conditioner | Application Frequency |
|---|---|---|
| Genuine Leather | Natural leather balm | Every 2-3 weeks |
| Synthetic | Mild soap solution | Monthly |
| Hybrid | Sport-specific cleaner | Every 4-6 weeks |
Manual Break-In Techniques

Manual break-in techniques form the foundation of softening boxing gloves. These methods focus on targeted manipulation to create flexibility in the padding and leather without damaging the glove structure.
Hand Manipulation Methods
- Squeeze the gloves firmly for 3 minutes per side, focusing on:
- The palm area with circular motions
- The knuckle region with gentle compressions
- The thumb section with light kneading
- Flex your hands while wearing the gloves:
- Open and close your fist 20 times
- Rotate your wrist in both directions
- Spread your fingers against the inner lining
- Use hand wraps during manipulation:
- Double wrap your hands for extra volume
- Focus on stretching the finger compartments
- Maintain consistent pressure throughout
Working the Padding and Leather
- Target specific padding areas:
- Press the knuckle padding with your thumbs
- Manipulate the wrist padding in circular motions
- Work the side panels with gentle pressure
- Condition the leather surface:
- Apply leather conditioner in small amounts
- Massage the product using microfiber cloth
- Focus on creased areas for optimal absorption
- Avoid common mistakes:
- Don't use excessive force when squeezing
- Skip harsh chemicals or heat applications
- Never soak the gloves in water
| Break-in Duration | Activity |
|---|---|
| 2-3 minutes | Initial squeezing |
| 3-5 minutes | Hand flexing |
| 2-3 minutes | Padding work |
| 1-2 minutes | Leather conditioning |
Training-Based Break-In Methods
Shadow Boxing Exercises
Shadow boxing creates an optimal starting point for breaking in new gloves. Start with 3-5 rounds of light shadow boxing, focusing on proper form rather than speed. Rotate your wrists during combinations to help create natural flex points in the gloves. Incorporate these movements:
- Execute slow jabs while focusing on full hand closure
- Practice hooks with controlled wrist rotation
- Perform uppercuts to work the thumb area
- Mix straight punches with defensive movements
Heavy Bag Work Strategy
Heavy bag work introduces impact resistance to soften boxing gloves systematically. Follow this progression:
- Begin with 50% power strikes for 3 rounds
- Focus on straight punches to evenly distribute padding
- Limit hook punches to 25% power in the first 5 sessions
- Increase power gradually over 15-20 training sessions
Common mistakes to avoid:
- Throwing full-power shots too early
- Neglecting proper hand wraps
- Using incorrect punch angles
| Training Phase | Duration | Power Level |
|---|---|---|
| Shadow Boxing | 3-5 rounds | 30% |
| Light Bag Work | 3 rounds | 50% |
| Regular Training | 15-20 sessions | 75% |
Note: Always wrap your hands properly before any bag work to maintain glove structure and prevent premature wear.
Proper Care During Break-In Period

Boxing gloves require specific maintenance during the break-in phase to prevent damage and extend their lifespan. Proper care ensures optimal performance while the gloves adapt to your fighting style.
Moisture Control Tips
- Allow gloves to air dry for 30 minutes after each training session in a well-ventilated area
- Insert cedar deodorizers or moisture-wicking glove dogs between sessions to absorb sweat
- Wipe down the interior with a clean microfiber cloth after use to remove excess moisture
- Use antibacterial spray designed for boxing equipment once weekly
- Never dry gloves in direct sunlight or near heat sources like radiators
Storage Best Practices
- Store gloves in a breathable mesh bag rather than sealed containers
- Keep gloves at room temperature (68-72°F) in a dry environment
- Position gloves upright with cuffs open to maximize airflow
- Avoid compressed storage that deforms the padding
- Remove hand wraps completely before storage to prevent moisture buildup
- Place gloves away from gym equipment oils or cleaning chemicals
| Temperature Range | Humidity Level | Air Dry Time |
|---|---|---|
| 68-72°F | 30-50% | 4-6 hours |
| 73-77°F | 51-65% | 6-8 hours |
| Above 77°F | Above 65% | 8+ hours |
Signs of Successfully Broken-In Gloves
Flexibility and Movement
Properly broken-in boxing gloves flex naturally at the knuckles when you make a fist. Your fingers move freely inside the glove compartment with minimal resistance from the padding.
Comfort Level
The interior padding molds to your hand shape creating a snug fit without pressure points. The wrist strap sits comfortably against your forearm with no pinching or chafing.
Padding Distribution
The padding feels evenly distributed across your knuckles when striking. No hard spots or uneven areas press against your hands during impact.
| Area | Before Break-In | After Break-In |
|---|---|---|
| Knuckle Flex | 25° bend | 90° bend |
| Padding Density | Rigid | Supple |
| Wrist Mobility | Limited | Full Range |
Material Response
- Leather gloves develop natural creases along strike zones
- Padding compresses uniformly during impact
- Wrist support remains firm while allowing proper rotation
- Interior lining stays smooth without bunching or sliding
Performance Indicators
- Clean snapping sound on impact instead of dull thuds
- Consistent power transfer through the padding
- Quick hand return after strikes
- Natural grip formation when making a fist
A fully broken-in glove maintains its protective qualities while allowing optimal hand movement. The break-in process typically takes 15-20 training sessions when done correctly.
Key Takeaways
- Breaking in boxing gloves is crucial for optimal performance, comfort, and injury prevention by molding the gloves to your unique hand shape and fighting style.
- The break-in process typically takes 15-20 training sessions and helps soften padding, create natural flex points, and distribute impact protection evenly.
- Manual break-in techniques include hand manipulation exercises, gentle padding compression, and proper leather conditioning while avoiding harsh chemicals or excessive force.
- Progressive training methods start with shadow boxing (30% power), then light bag work (50% power), before advancing to regular training sessions (75% power).
- Proper moisture control and storage in a well-ventilated area at room temperature (68-72°F) are essential during the break-in period to prevent damage and extend glove life.
- Successfully broken-in gloves show 90° knuckle flexibility, even padding distribution, comfortable fit without pressure points, and consistent power transfer during strikes.
Conclusion
Breaking in your boxing gloves isn't just about comfort - it's an essential process that maximizes both protection and performance. With proper techniques and patience you'll transform stiff new gloves into reliable training partners that enhance your boxing experience.
Remember that rushing the break-in process can compromise your gloves' integrity and your training quality. By following systematic break-in methods while maintaining proper care your gloves will naturally adapt to your unique fighting style.
Give your gloves the time and attention they need during those crucial first 15-20 training sessions. The reward will be a pair of perfectly molded gloves that move with you, while protecting you and helping you perform at your best in the ring.
Frequently Asked Questions
How long does it take to break in boxing gloves?
The break-in period typically lasts 15-20 training sessions. This timeframe allows for proper conditioning of the padding and materials while maintaining the glove's protective qualities. The exact duration may vary depending on usage frequency and break-in techniques employed.
Why is breaking in boxing gloves important?
Breaking in gloves is crucial for comfort and performance. New gloves with stiff padding can reduce punch speed by 25% and triple the risk of hand fatigue. The process creates natural flex points, improves grip, and ensures even padding distribution, ultimately enhancing protection and control during training.
What are the signs of properly broken-in gloves?
Well-broken-in gloves show improved flexibility, natural knuckle movement, and even padding distribution. You'll notice a snug fit without pressure points, a clean snapping sound on impact, and quick hand return after strikes. The gloves should feel like a natural extension of your hands.
Can I speed up the break-in process?
While it's possible to accelerate the break-in process through manual manipulation and targeted training, it's not recommended to rush it. Aggressive methods can damage the gloves. Instead, focus on consistent training with progressive intensity and proper care techniques.
How should I care for gloves during the break-in period?
Allow gloves to air dry for 30 minutes after each training session, use cedar deodorizers, and wipe down the interior with a microfiber cloth. Store them in breathable mesh bags at room temperature, positioned upright for maximum airflow.
Should I use my new gloves for sparring?
It's best to avoid sparring with brand new gloves until they're properly broken in. Start with shadow boxing and light bag work, gradually increasing intensity over several training sessions. This approach ensures better control and reduces the risk of injury to both you and your sparring partner.
What's the best way to start breaking in new gloves?
Begin with 3-5 rounds of light shadow boxing to create natural flex points. Then progress to light bag work at 50% power, gradually increasing intensity over time. Always use proper hand wraps and avoid throwing full-power shots too early in the break-in process.
Looking to level up your glove game? Check out these curated collections: