
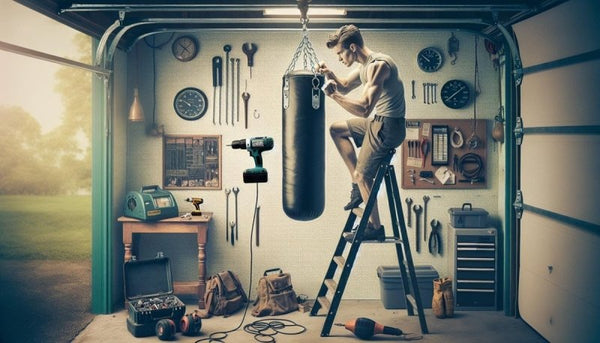
Setting up a punching bag might seem like a daunting task but with the right guidance you'll have your home boxing setup ready in no time. Whether you're a beginner looking to start your fitness journey, or an experienced boxer creating a home gym, proper installation is crucial for both safety and effectiveness.
You'll need to consider several key factors before getting started including the structural support of your mounting location, ceiling height, and the weight capacity of your chosen mounting system. A properly installed punching bag won't just enhance your workout experience - it'll also prevent potential accidents and damage to your property. Let's walk through everything you need to know to get your punching bag mounted securely so you can focus on perfecting those combinations.
Choosing the Right Location
Selecting an appropriate location for your punching bag installation ensures safe training sessions and prevents structural damage. The location determines the stability of your setup and impacts your workout efficiency.
Checking Wall and Ceiling Strength
A structural assessment confirms if your mounting point supports your punching bag installation. Locate ceiling joists or wall studs using a stud finder before installation. Here's what to examine:
- Measure joist spacing (16-24 inches apart indicates adequate support)
- Verify load capacity (minimum 4x the bag's weight)
- Identify exposed beams or concrete surfaces for direct mounting
- Test wood integrity by checking for rot or damage
- Confirm ceiling height matches manufacturer specifications
Space Requirements
Your punching bag setup needs adequate clearance for safe operation. Consider these measurements:
| Area Type | Minimum Space Required |
|---|---|
| Floor Space | 6x6 feet |
| Ceiling Height | 8-10 feet |
| Swing Radius | 3-4 feet |
| Safety Buffer | 2 feet from walls |
- Create a clear impact zone free from furniture or fixtures
- Allow room for lateral movement during training
- Factor in the bag's full swing radius when struck
- Account for additional workout equipment placement
- Ensure proper ventilation in the training area
- Position away from windows or fragile items
Essential Tools and Hardware

A successful punching bag installation requires specific tools and hardware to ensure safety and stability. Here's a comprehensive list of equipment needed for proper heavy bag installation.
Mounting Brackets and Hardware
The foundation of a secure punching bag setup starts with robust mounting equipment:
- Install a heavy-duty mounting bracket rated for 100-300 pounds
- Use 4-6 grade-8 bolts (½-inch diameter) for ceiling mounts
- Select 24-inch heavy-duty chains rated at minimum 500-pound capacity
- Add steel carabiners with 400-pound working load limits
- Include vibration-reducing spring attachments for noise reduction
| Hardware Component | Minimum Weight Rating |
|---|---|
| Mounting Bracket | 300 lbs |
| Chains | 500 lbs |
| Carabiners | 400 lbs |
| Bolts | Grade 8 |
Safety Equipment
- Use a stud finder to locate ceiling joists or wall studs
- Operate a power drill with multiple drill bit sizes (¼-inch to ½-inch)
- Apply a laser level for precise bracket alignment
- Use an adjustable wrench for secure bolt tightening
- Keep safety glasses for protection during drilling
- Utilize work gloves for handling chains and hardware
- Position a sturdy ladder for ceiling access
| Installation Tool | Primary Function |
|---|---|
| Stud Finder | Joist Location |
| Power Drill | Anchor Points |
| Laser Level | Mount Alignment |
| Safety Glasses | Eye Protection |
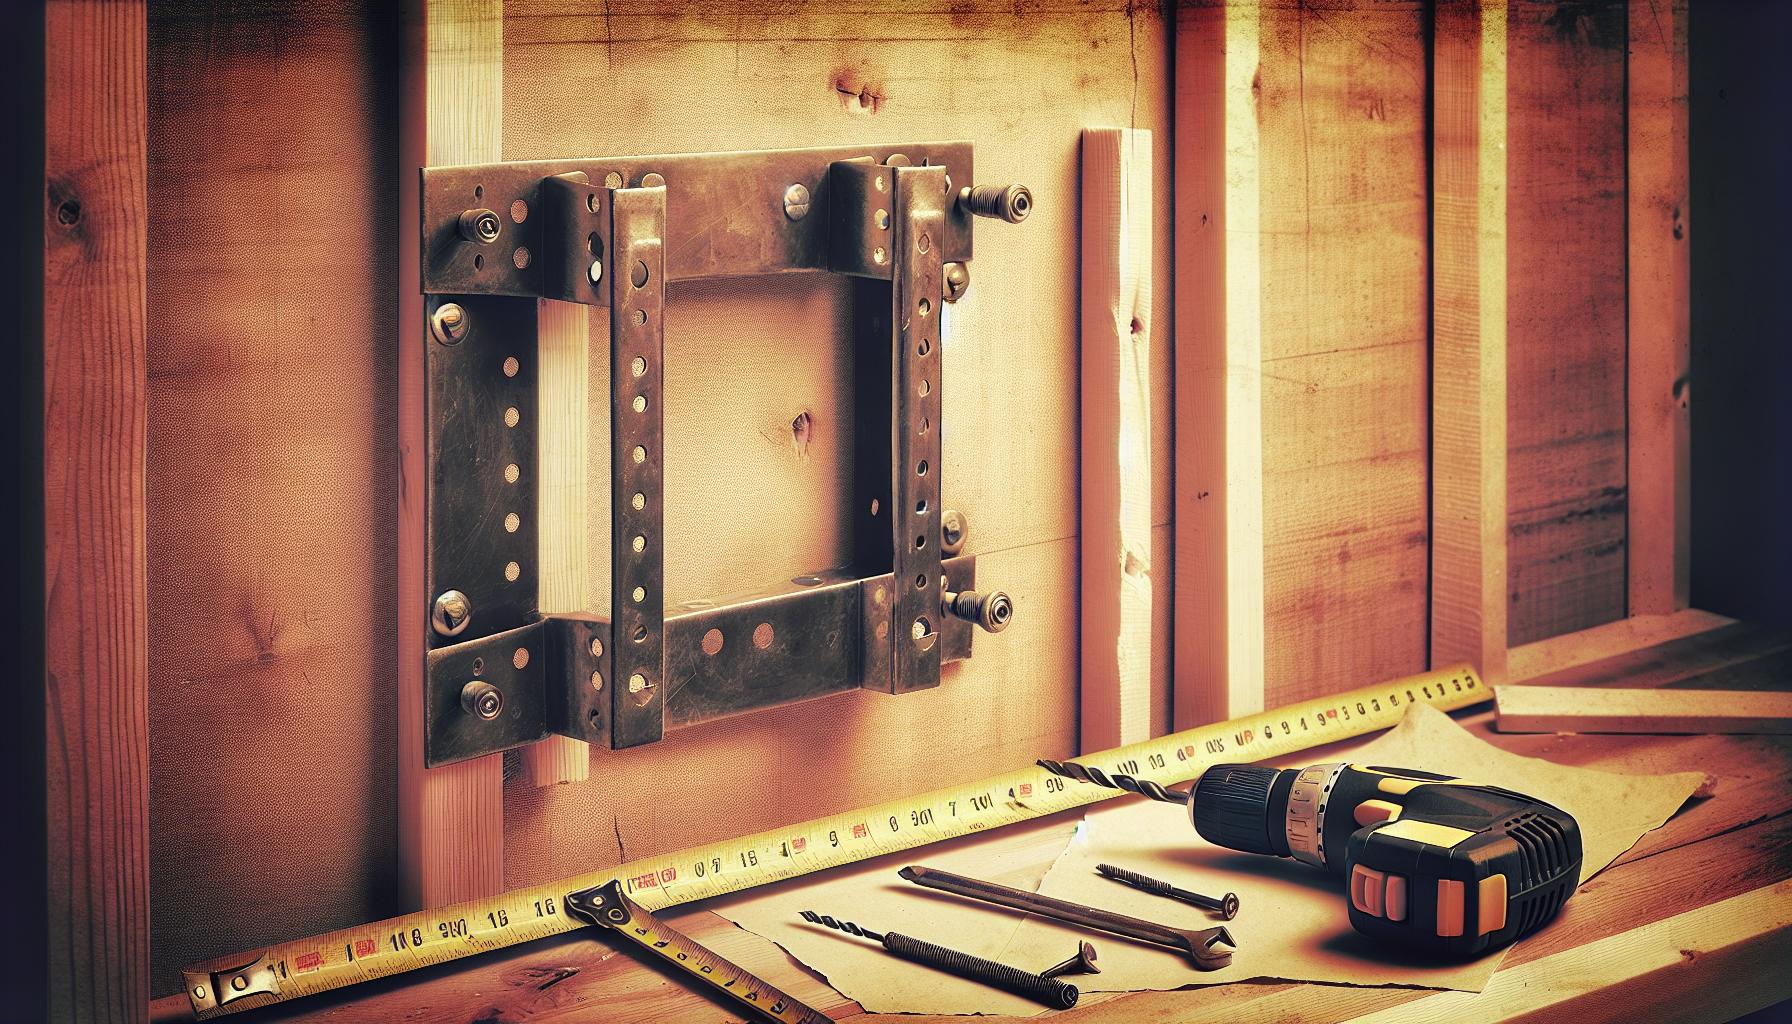
Wall Mount Installation Steps
Installing a punching bag with a wall mount requires precise measurements and proper anchoring techniques. Here's how to complete each critical step of your heavy bag installation.
Locating Wall Studs
A stud finder locates the essential wall support beams for your punching bag mount. Run the stud finder horizontally across the wall until it indicates a stud location. Mark each stud with a pencil, ensuring you've found at least two studs 16 inches apart. Double-check stud locations by moving the finder up and down to confirm a continuous vertical line.
Securing the Mounting Bracket
Position the mounting bracket against the marked stud locations at your desired height. Mark the mounting holes with a pencil through the bracket's pre-drilled holes. Drill pilot holes into the studs using a drill bit slightly smaller than your mounting bolts. Secure the bracket using grade-8 bolts, ensuring each bolt penetrates at least 2.5 inches into the stud. Test the bracket's stability by applying downward pressure before hanging your punching bag.
| Component | Specification |
|---|---|
| Wall Studs | 16 inches apart |
| Bolt Depth | 2.5 inches minimum |
| Mount Rating | 100-300 pounds |
| Pilot Hole Size | 1/8 inch smaller than bolt |
Ceiling Mount Installation Steps
Support Beam Assessment
- Locate the Ceiling Joist
- Use a stud finder to identify solid joists in your ceiling
- Mark the center of the joist with a pencil
- Verify joist location by drilling a small test hole
- Check Weight Capacity
- Confirm the joist can support 4x the weight of your punching bag
- Assess the joist's condition for any signs of damage or decay
- Measure joist dimensions (2x6 inch or larger joists work best)
- Drill Pilot Holes
- Mark mounting bracket hole positions on the joist
- Create 1/8-inch pilot holes for mounting screws
- Keep holes centered on the joist
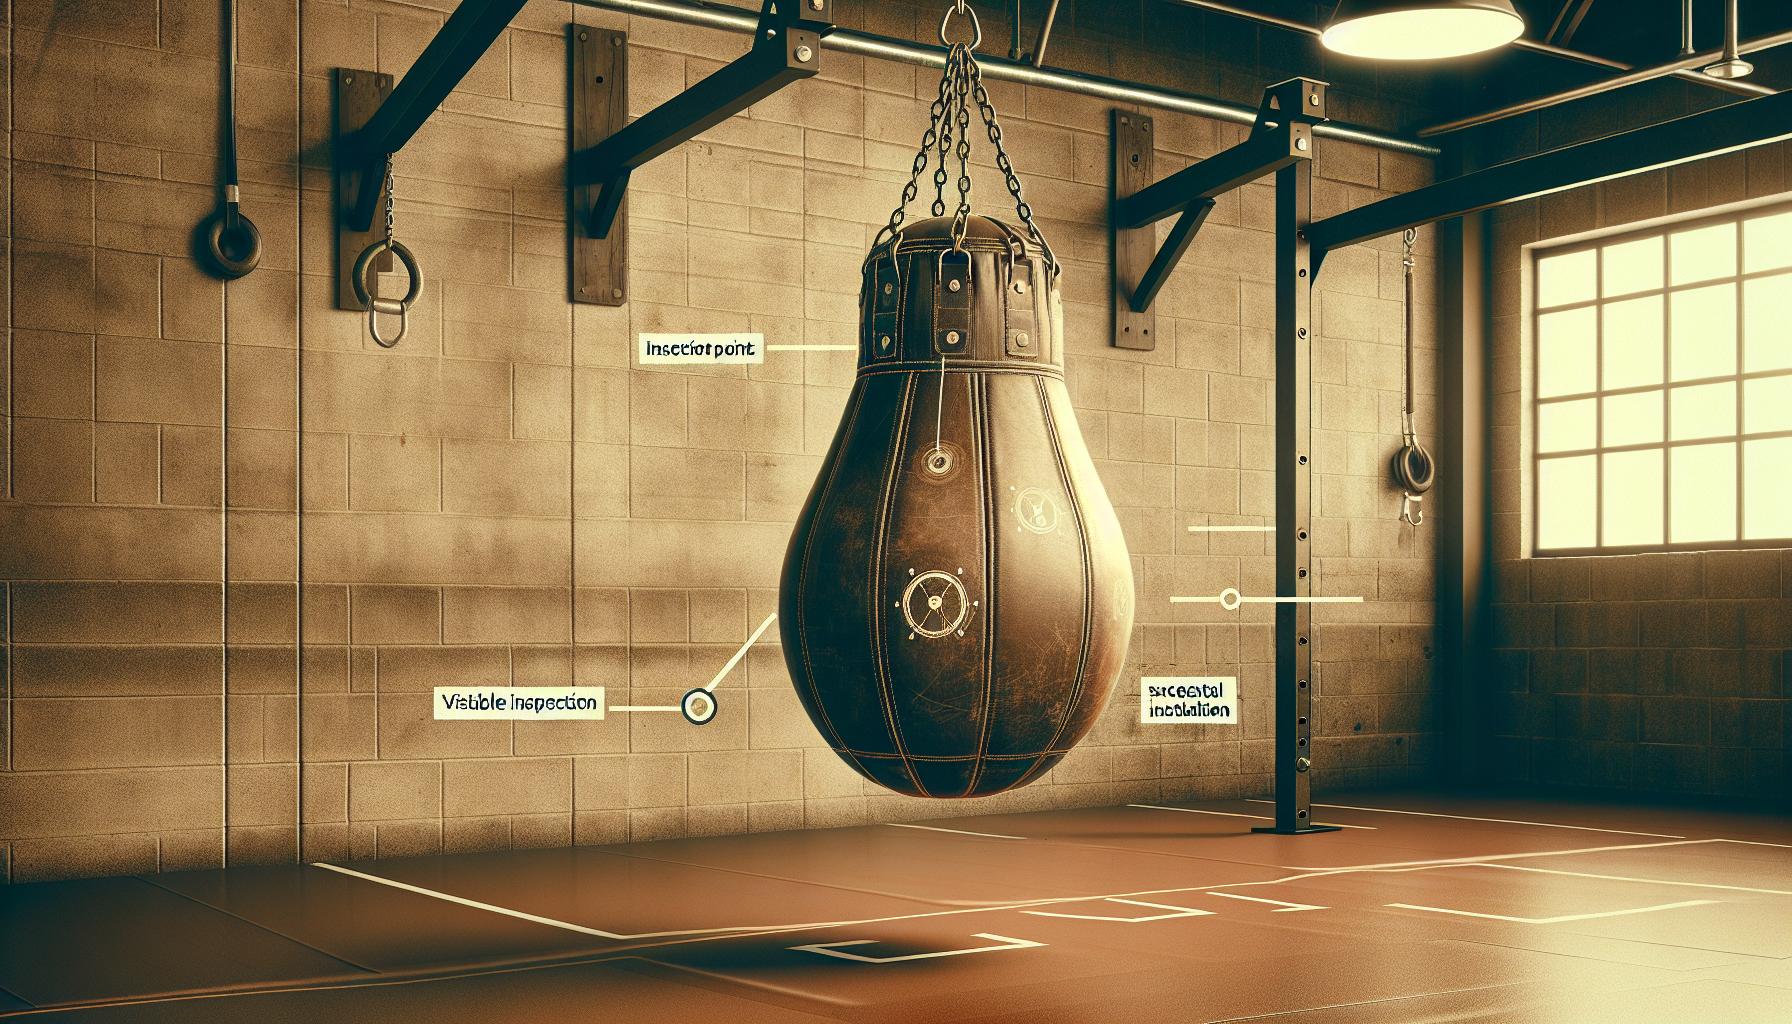
Chain and Swivel Setup
- Mount Installation
- Secure mounting bracket with 3/8-inch lag bolts
- Tighten bolts using a socket wrench
- Test mount stability by applying downward pressure
- Chain Assembly
- Attach four equal-length chains to the bag's D-rings
- Connect chains to a central swivel hook
- Ensure all connections use locking carabiners
- Height Adjustment
- Position bag height for proper striking alignment
- Leave 18 inches of chain length for movement
- Test bag swing radius for clearance
| Component | Specification |
|---|---|
| Lag Bolts | 3/8-inch x 4-inch |
| Chains | 24-inch heavy-duty |
| Swivel | 360-degree rotation |
| Carabiners | 400lb capacity |
Testing and Safety Checks
Weight Test Protocol
- Apply 25% of the bag's weight initially using steady downward pressure
- Increase pressure gradually to match the bag's full weight
- Hold maximum pressure for 30 seconds to test mounting stability
- Listen for creaking sounds or observe any movement in the mounting hardware
- Inspect all connection points for signs of stress or loosening
Movement Range Check
- Push the bag forward 12 inches to test swing radius
- Pull the bag backward to verify clearance from walls
- Swing the bag in circular motions to test mount flexibility
- Check chain or strap tension at different swing angles
- Verify 24 inches of clear space around the bag's full range of motion
- Test the swivel mechanism by rotating the bag 360 degrees
- Examine mount reactions during controlled impacts from various angles
| Test Type | Minimum Duration | Required Clearance |
|---|---|---|
| Weight Test | 30 seconds | N/A |
| Swing Test | 2 minutes | 24 inches |
| Impact Test | 5 minutes | 36 inches |
Note: These test protocols apply to both ceiling-mounted and wall-mounted punching bag installations. Freestanding bags require stability checks focusing on base weight and floor grip.
Maintaining Your Mount
A secure mounting system requires regular maintenance checks to ensure safe training sessions. Proper maintenance extends the life of your punching bag installation and prevents accidents during workouts.
Regular Inspection Tips
- Check mount bracket bolts monthly for signs of:
- Rust spots on metal components
- Loose connections between parts
- Cracks in mounting plates
- Bent or damaged sections
- Inspect chain links or straps for:
- Fraying in nylon straps
- Rust formation on chains
- Wear at connection points
- Broken or damaged links
- Examine ceiling or wall connection points for:
- Water damage around mounting areas
- Cracks in surrounding surfaces
- Pull marks near anchor points
- Visible gaps between mount and surface
Tightening Schedule
- Weekly Tasks:
- Check carabiner connections
- Verify swivel assembly movement
- Test spring mechanism tension
- Confirm chain link security
- Monthly Tasks:
- Tighten all mounting bracket bolts
- Adjust chain length if needed
- Secure wall anchor points
- Test overall stability
- Quarterly Tasks:
- Replace damaged hardware
- Lubricate moving components
- Clean mounting system parts
- Document mount condition
| Component | Inspection Frequency | Tightening Torque |
|---|---|---|
| Main Bolts | Weekly | 45-50 ft-lbs |
| Chain Links | Monthly | Hand-tight + 1/4 turn |
| Mounting Brackets | Monthly | 35-40 ft-lbs |
| Support Bearings | Quarterly | 25-30 ft-lbs |
Key Takeaways
- A proper punching bag installation requires careful consideration of structural support, with mounting points needing to support at least 4 times the bag's weight
- Essential space requirements include 6x6 feet of floor space, 8-10 feet ceiling height, and 3-4 feet of swing radius for safe operation
- Professional-grade mounting hardware is crucial - use heavy-duty brackets rated for 300+ pounds, grade-8 bolts, and chains rated for at least 500 pounds
- Wall mounts require secure attachment to studs 16 inches apart, while ceiling mounts need proper joist support and 360-degree swivel mechanisms
- Regular safety checks and maintenance are essential - inspect hardware monthly, test stability regularly, and maintain proper clearance around the bag
Conclusion
Setting up your punching bag correctly is crucial for both your safety and training effectiveness. Following these installation guidelines will give you a secure and reliable setup that lets you focus on your workouts without worrying about equipment stability.
Remember to regularly check your mounting system and perform maintenance as needed. A well-installed punching bag will serve as a reliable training partner for years to come letting you develop your skills and achieve your fitness goals with confidence.
Now that you've got your punching bag properly mounted it's time to start training. Get ready to unleash your power and enjoy the incredible workout benefits of your new home boxing setup!
Frequently Asked Questions
How high should I mount my punching bag?
For optimal training, mount your punching bag so that its center is at your shoulder height. Generally, this means installing the mounting point 7-8 feet from the floor. Ensure there's enough clearance for the bag to swing without hitting the ceiling.
What's the minimum ceiling height needed for a punching bag?
A minimum ceiling height of 8-10 feet is recommended for proper punching bag installation. This allows enough space for the bag to hang and swing freely while maintaining a safe distance from both floor and ceiling.
Can I mount a punching bag on any wall?
No, not all walls are suitable. The mounting point must connect to solid wall studs or ceiling joists capable of supporting at least four times the bag's weight. Drywall alone cannot support a punching bag's weight and movement.
How much space do I need around the punching bag?
Allow a minimum of 6x6 feet of floor space with a 2-foot buffer from walls. This space ensures you can move freely around the bag and accommodates the bag's swing during workouts without risking collision with walls or objects.
How often should I check the mounting hardware?
Inspect mounting hardware weekly for any signs of loosening or wear. Perform a thorough check of all bolts, chains, and connection points monthly. Tighten any loose components immediately and replace any damaged hardware right away.
What tools do I need for installation?
Essential tools include a stud finder, power drill, level, wrench set, safety glasses, and work gloves. You'll also need heavy-duty mounting brackets, grade-8 bolts, steel chains, and carabiners rated for at least 100-300 pounds.
Can I install a punching bag without professional help?
Yes, you can install a punching bag yourself if you have basic DIY skills and the right tools. However, if you're unsure about structural support or proper installation techniques, it's best to consult a professional.
How much weight can a typical mounting system hold?
Most quality mounting systems are rated to hold between 100-300 pounds. However, always choose a mount rated for at least four times your bag's weight to account for dynamic forces during use.